
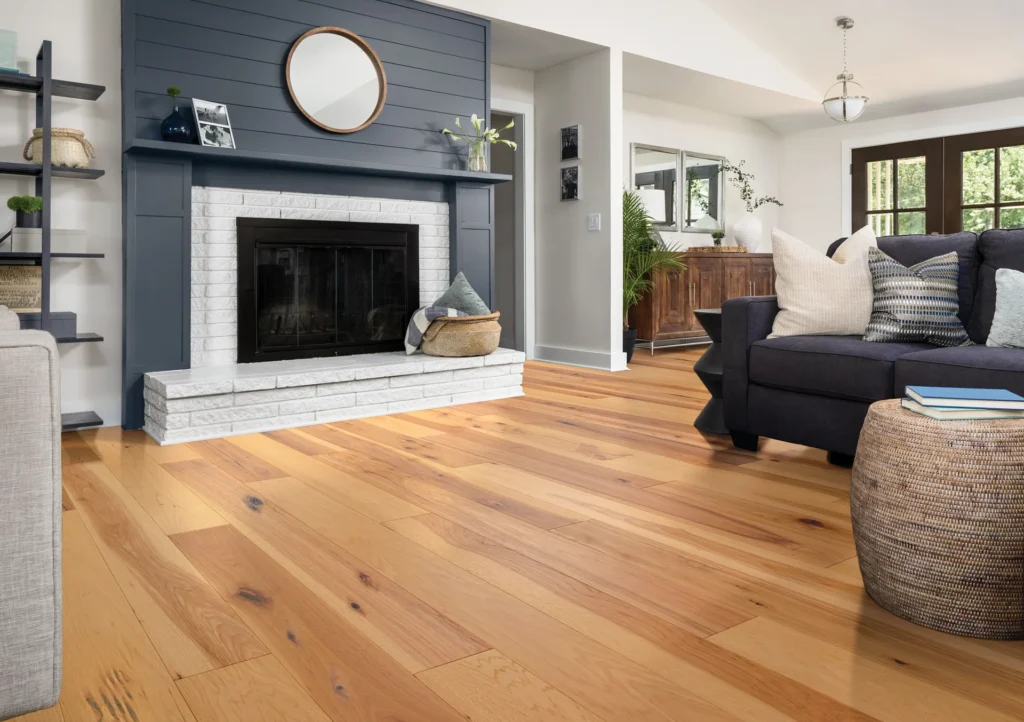

A hallway points one way. The living room’s long wall points another. Neither gets the final vote just because it is easy to see. For a floating click vinyl floor, choose a direction for the connected layout first, then judge how each room looks within it.
There is no universal right answer to which direction to lay vinyl plank. Most choices are visual, but product rules can rule out a layout that looks good. Use this order of tiebreakers: the exact installation guide, continuity through connected spaces, the main view or longest wall, and finally natural light. A lower-ranked preference should not undo a higher-ranked requirement.
The product rule outranks the room photo
Check the instructions for the actual click plank before weighing looks. A floating floor locks to itself rather than being nailed to the base. That is why the familiar advice about running nailed solid hardwood across floor joists does not automatically decide a floating vinyl layout.
Joists are the supports beneath a wood subfloor. Most general floating-vinyl advice does not treat their direction as the deciding rule, but some product guides do require an orientation across them or at an allowed angle. Do not assume either that joists always control the choice or that they never matter. Have the installer confirm the exact requirement over your base.
Also check the allowed continuous run and where expansion breaks are required. The product guide sets those limits. Turning the plank direction can change which connected stretch reaches a limit, so a front-hall-to-kitchen layout needs more than a good-looking sample. Sketch the full area and mark required breaks before calling either direction workable.
Direction is not a cure for a base that is uneven or moves. Our article on vinyl plank over existing tile covers a different base question; this choice comes after the floor beneath has been assessed. Do not use an attractive row direction to wave away preparation needs.
Continuity gets the next vote
For an open living, dining, and kitchen area, one direction usually reads more calmly than separate decisions in each zone. Look at the whole connected floor as one shape, including the hall and the openings between rooms. A small room’s long wall may be less important than the view through the entire run.
A change of direction through a doorway usually calls for a break and transition. Some installation guides specify a T-molding there. Do not assume click edges can simply turn a corner and keep one uninterrupted floor. Have the proposed junction checked against the chosen product and decide whether the visible break suits the room.
Where vinyl meets retained carpet, our vinyl-to-carpet doorway guide explains that separate edge. Here, the aim is to decide whether your direction creates extra doorway breaks, not choose every transition profile. Keep those breaks on the layout drawing so they do not appear as a surprise after the floor is ordered.
Then compare the main view with the longest wall
Stand at the entrance you use most and look through the connected space. Imagine long plank edges leading into the room, then imagine them crossing that view. Running along the main sightline is a common starting choice. Running along the longest wall is another, and the two often agree in a simple rectangular room.
If they disagree, favor the view that ties the connected rooms together, provided it meets the guide. The longest wall in a side room does not have to steer the entire floor. Notice what you see from the sofa and kitchen too. A direction that looks settled from several everyday positions is more useful than one that wins from a single photo angle.
In a narrow hall, lengthwise rows are a common visual choice. The harder case is a hall that meets a broad room at a turn. Compare keeping the hall direction throughout with changing it at a planned doorway break. Neither is automatically wrong; the choice depends on allowed layout, the main room view, and whether you want that transition.
Light settles a close result, not a product conflict
Many layout guides suggest pointing planks toward the main natural light source. Treat that as a visual preference, not an installation law. Light can make grain and joints look different, and more than one window may compete for attention. The brightest window need not overrule a coherent whole-floor layout.
View the loose samples with daylight coming in and with your usual room lights on. If both directions already meet the stronger tiebreakers, choose the one whose grain and lines you prefer in that light. If you plan window coverings or keep a room shaded, include that everyday setting rather than judge only with all curtains open.
When the tiebreakers point in different directions
| Situation | Usual starting direction | What it changes on the job |
|---|---|---|
| Long open room joined to dining and kitchen areas | Follow the main connected view or long axis. | Check the continuous run and any required expansion breaks across the whole space. |
| Narrow hall meets a room running the other way | Try lengthwise in the hall, then compare the whole-floor view. | Keeping that direction may change room-edge cuts; turning at the doorway usually adds a transition. |
| Main window faces across the longest wall | Let continuity and the main view lead; use light to settle a close choice. | Preview both orientations rather than letting the window alone decide the layout. |
| Wall drifts out of square | Compare both allowed directions with the edge layout visible. | Rows parallel to that wall can reveal a tapering border strip; plan how cuts are shared. |
| Diagonal layout is preferred | Consider it only if the product supports the proposed layout. | Expect more angled cuts and waste; confirm material needs and doorway details before ordering. |
An out-of-square wall is one that does not line up neatly with the planned rows or the other walls. When the long plank edges follow it, a narrowing strip can draw attention to the drift. Changing direction may change where that effect shows, but it does not make the room square. Ask to see the starting line and border-cut plan for each option.
Diagonal rows can soften a conflict between room axes, yet they bring more cutting and extra material. Our guide to ordering extra vinyl plank covers that quantity question. Do not select an angle and keep a material allowance calculated for a different layout. Have the chosen direction carried through to the order.
Mock up the choice before locking it in
Sketch the connected rooms with arrows for each candidate direction. Mark doorways, retained floors, and the stair landing if it meets the new vinyl. This is a comparison drawing, not an installation plan. Its job is to show where a choice helps one room while complicating another.
Lay a few loose planks side by side, or use temporary lines to suggest the long edges. Painter’s tape can help on a suitable surface, but check that the surface allows it and do not leave adhesive where it can mark a finish. Keep loose pieces out of walking paths; this preview is not a floor to walk on.
Look from the front door, the far end of the hall, and the rooms that stay connected. Try the other direction in the same places. Include the awkward wall rather than hiding it beneath furniture. A small sample shows color; a few rows show the repeating lines that will shape the view.
At a stair landing, check how the plank lines meet the nosing, the finished edge at the stair. Direction can affect the cuts and visual alignment there. The landing and stair detail must fit the product’s approved system; a preferred grain line is not permission to improvise that edge.
Make the chosen arrows part of the estimate discussion
- Which direction does this product permit over my actual subfloor, including any joist-related condition?
- Can this connected layout stay within the guide’s continuous-run rules, and where must breaks go?
- Which doorway transitions does this direction add, including any junction where rows turn?
- How will the starting line and border cuts handle walls that are not square?
- Does the material quantity reflect this straight or diagonal layout and its cuts?
- How do the landing rows meet the stair nosing, and which approved detail will be used?
Have the answers attached to the planned direction, not left as separate assumptions. Expansion space and base preparation still matter whichever way the rows face. The article on why vinyl planks develop gaps explains that separate problem; rotating the layout is not a repair for joints that are already failing.
Browse vinyl plank looks for your connected rooms once you have a workable direction to compare them in. Bring the same arrows and doorway notes to each sample choice so the decision stays about the whole floor.
Use your sketch to request a free estimate for the connected flooring area, or call (609) 300-0509. Point out the hallway turn, awkward wall, and any landing before settling on the final direction.